Connecting HocNota as an Azure application
HocNota prerequisites
Configuration must be done with an administrator account.
Check or set your site's base URL in "System -> Configuration".
Get the redirect URI from "System -> Azure AD: Redirect URI".
Registering the application in Azure
Search for "App registration" in the search bar.
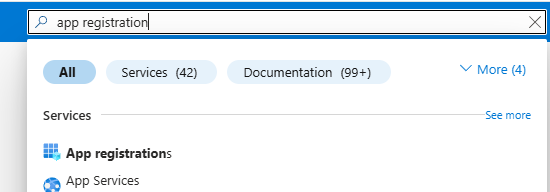
Select "New registration".

Enter the registration information.
Name: name of the application.
Supported account types: depending on your needs (e.g. Single tenant only - xxxxx).
Redirect URI: redirect URL retrieved from the HocNota interface.
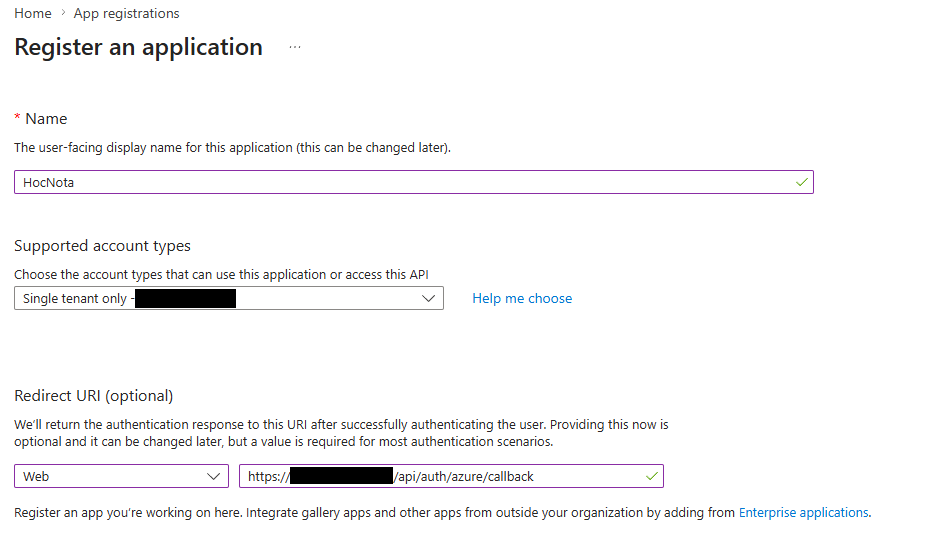
On the next page, retrieve:
-
Directory ID (Tenant ID in HocNota)
-
Application ID (Client ID in HocNota)
then click "Add certificate or secret".

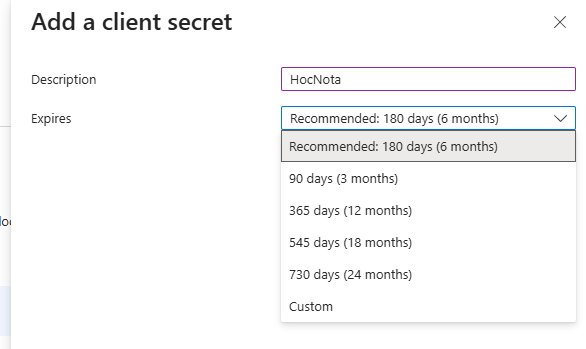
In the Client Secret tab, select "+ New client secret".

Choose an expiration then confirm.
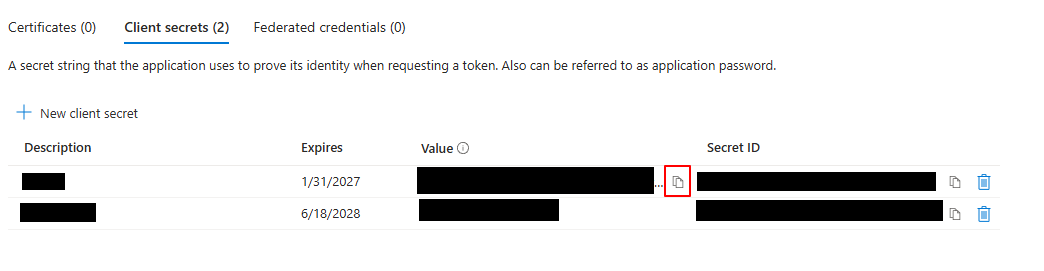
On the next page, retrieve the secret value.
Configuration in HocNota
Enter the information created in the previous step.
-
Tenant ID
-
Application ID
-
Client Secret
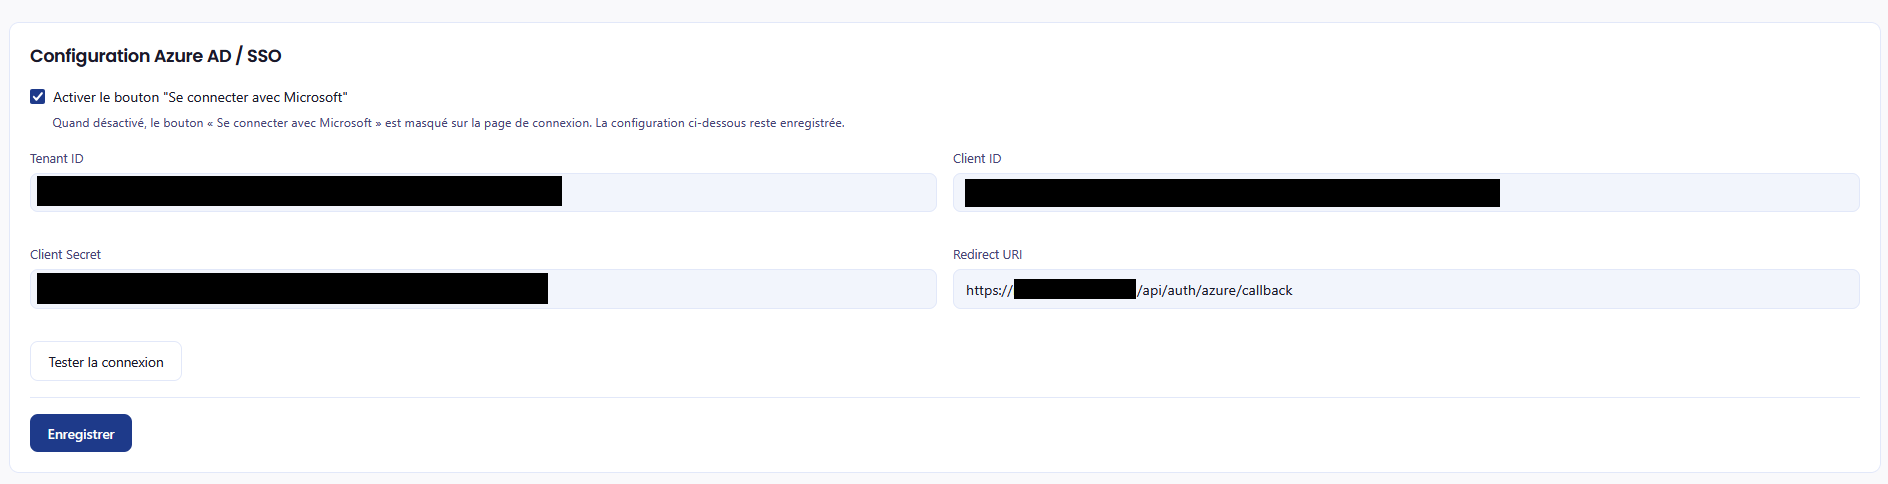
Save then test the connection.
See also the reference page: Azure Application.