Setting up HocNota as an Azure Bot
To improve HocNota's integration into your workflow, you can integrate it into Microsoft Teams. This lets you submit a job and track its progress without going through the web interface.
HocNota prerequisites
Before configuring the bot, you need to set up the Azure connection.
Enable the Bot, then retrieve the "Messaging Endpoint" (https://xxxxx.com/api/messages).
Registering the bot in the Azure portal
Go to your organization's Azure portal (https://portal.azure.com/)
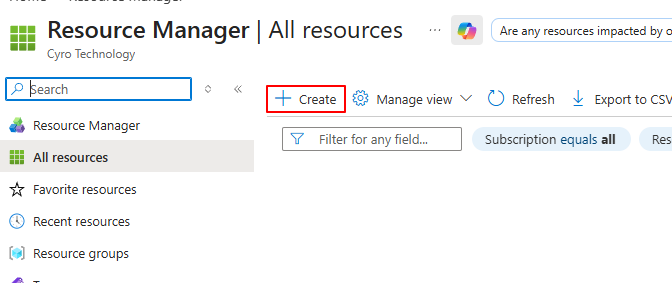
In the search bar, search for "All resources" to open the resource manager

Click "+ Create"
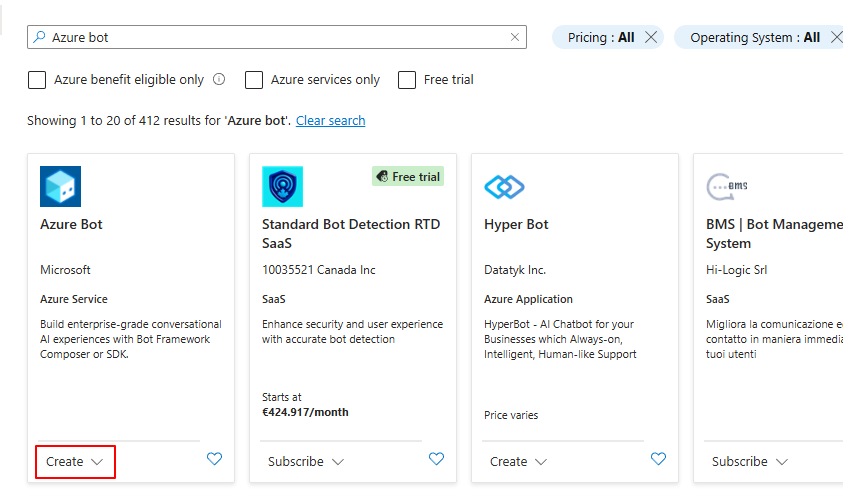
In the list of available resources, search for "Azure bot", then click "Create".
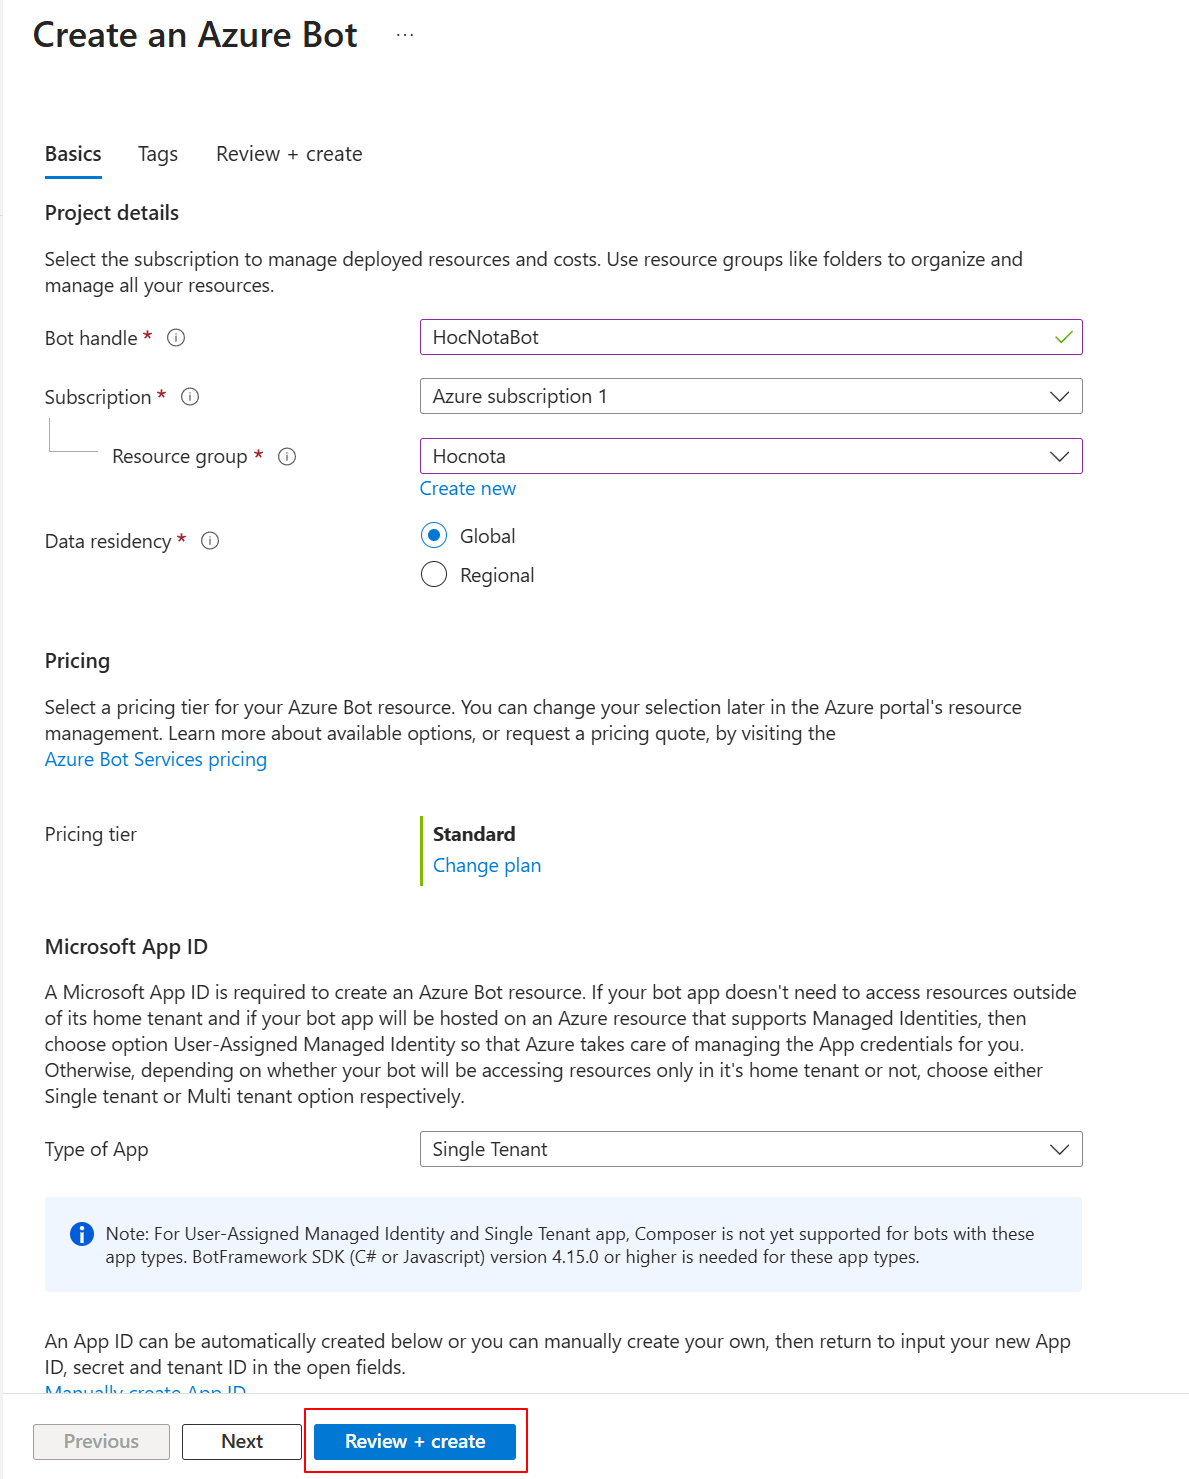
Enter the registration information
- Bot handle: name of the bot
- Subscription: select the subscription to use for the bot
- Resource group: HocNota (or the name used during the HocNota connection setup)
- Data residency: data location
Once filled in, confirm with Review + Create, then Create to finish creating the Bot.
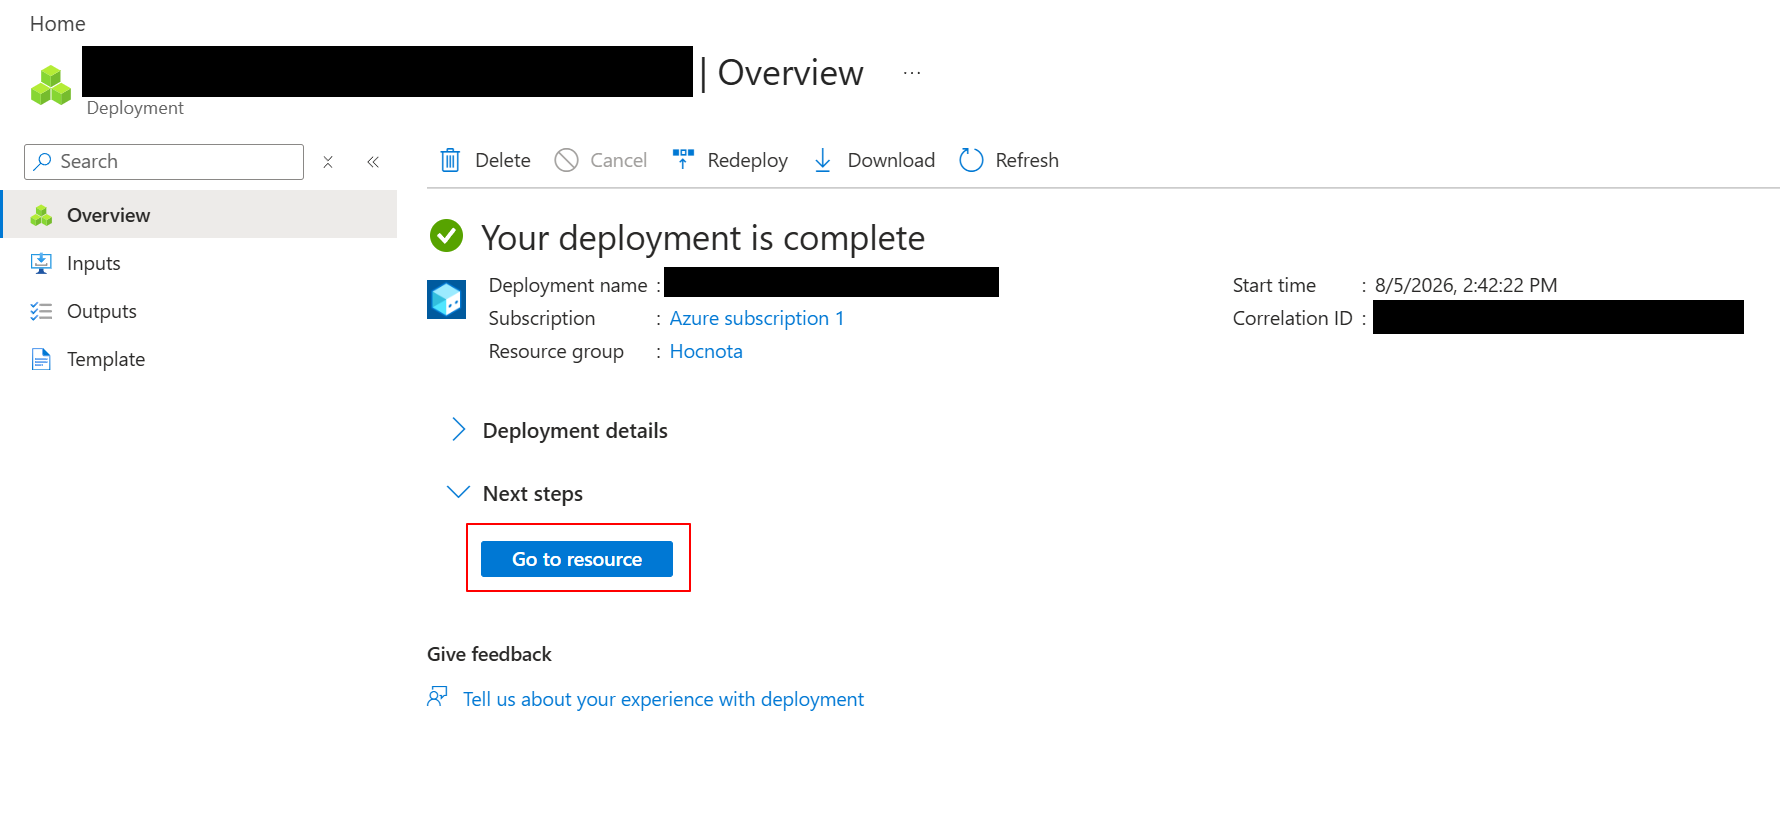
Click "Go to resource"
Select "Configuration" on the left
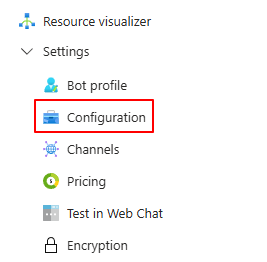
Enter the Messaging Endpoint retrieved from the HocNota interface, then apply the change.
Retrieve the Microsoft App ID
Then click "Manage Password" to create a Secret for the Bot
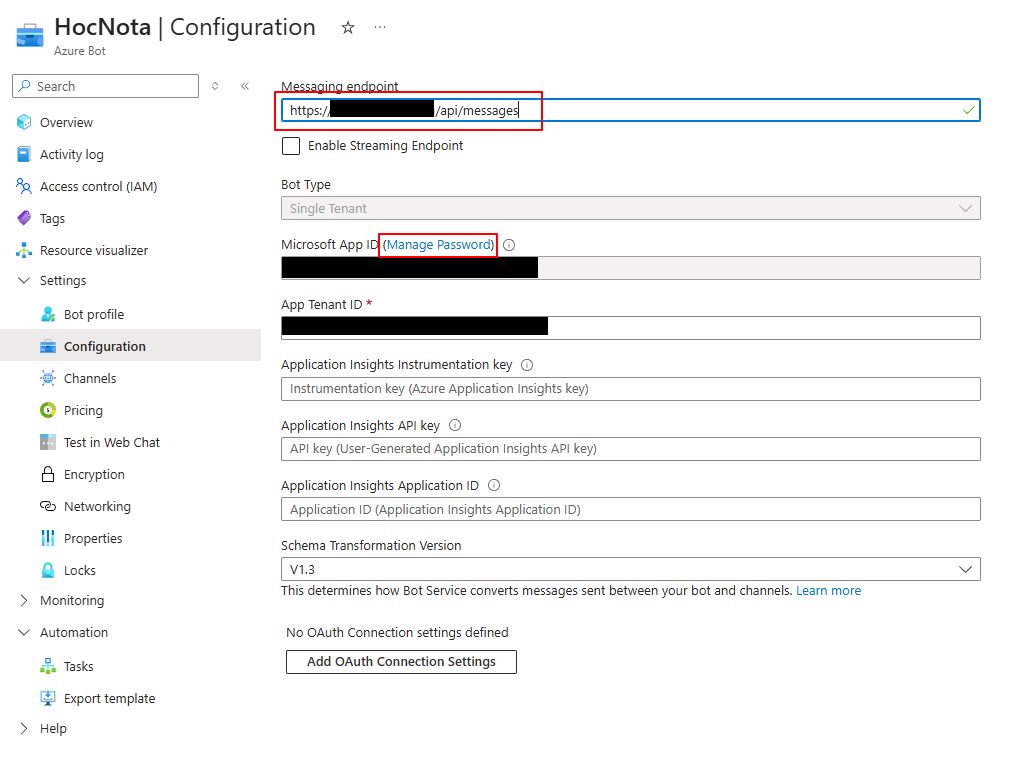
As with the Azure connection, set a Secret for the Bot
Select "+ New client secret"

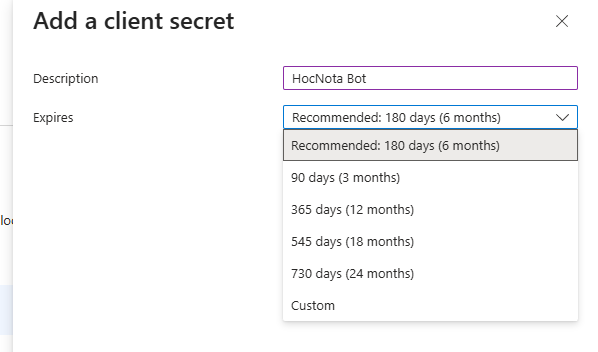
Retrieve the Client secret value

Go back to the Bot configuration using the link at the top of the page
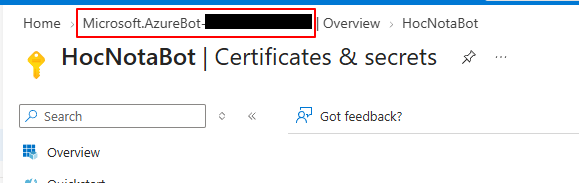
then go back to the resource management page with the "Go to resource" button, as at the beginning of the tutorial.
Set up a communication channel for the Bot using the "Channels" section on the left.

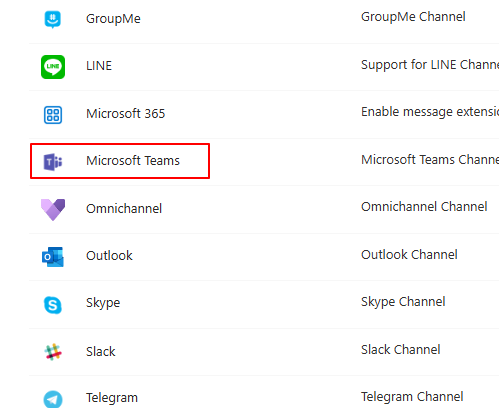
Search for "Microsoft Teams" in the list and click on it.
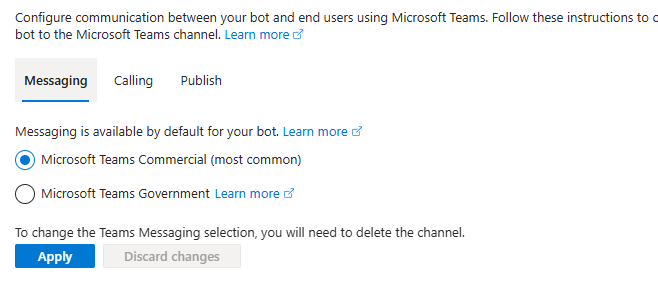
Select the value that best fits your organization, then apply.
Configuring the Azure Bot in HocNota
In the HocNota Admin interface (System -> Azure AD), Microsoft Teams Bot section
Enter the App ID and the key value retrieved during the bot configuration.
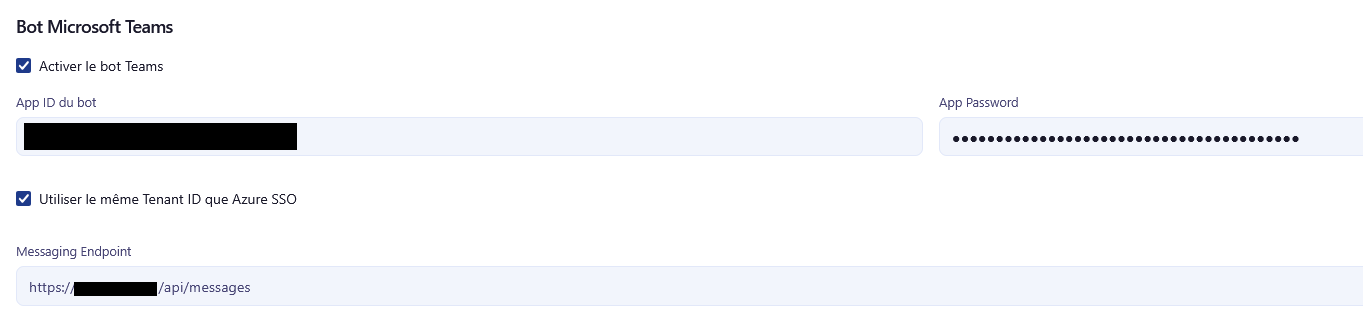
You can then download the bot with the "Download Teams package" button.
Configuring the Teams Admin portal
Open the Teams admin interface (https://admin.teams.microsoft.com)
Go to app management
Open "Teams apps" -> "Manage apps"

In the top right, select "Actions" then "+ Upload new app"

Upload the package downloaded in the previous step.
Once the upload is complete, you can close the window.
Go to the security configuration via the "Setup policies" section

Select the Global policy
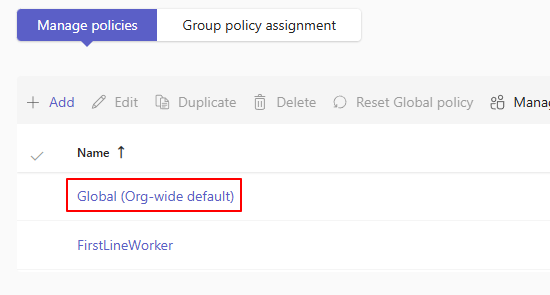
Allow "Upload custom apps"

The bot is now available in Teams
Setting up Teams
Now that everything has been configured server-side, each user in the organization can find the HocNota bot directly in Teams as follows.
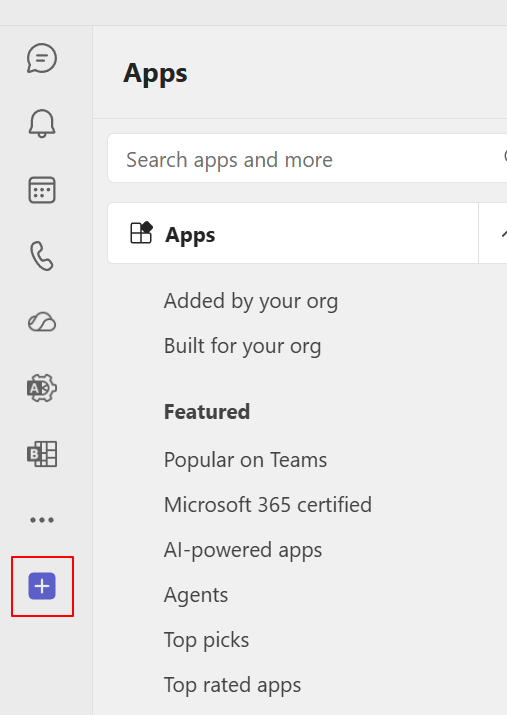
Click the "+" button to open app management
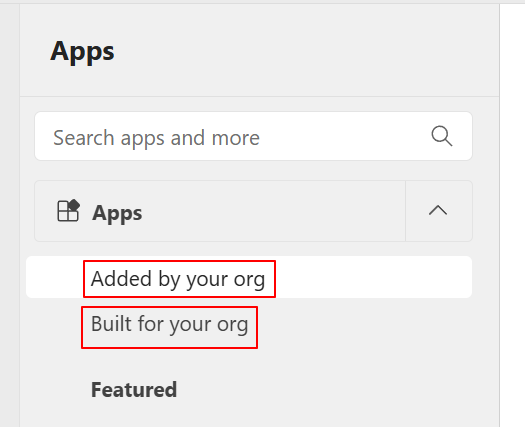
Then, under "Added by your org" or "Built for your org"
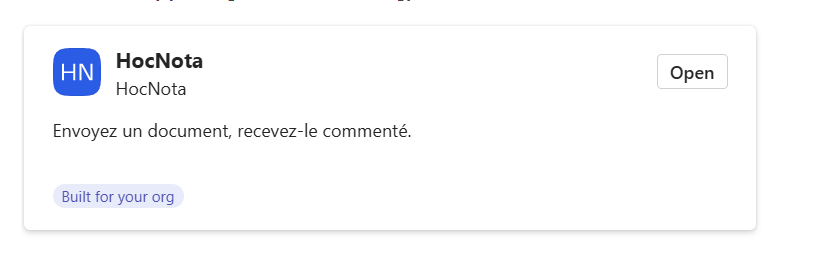
You'll find the HocNota app (the logo may change from one version to another); select it and click "Add".
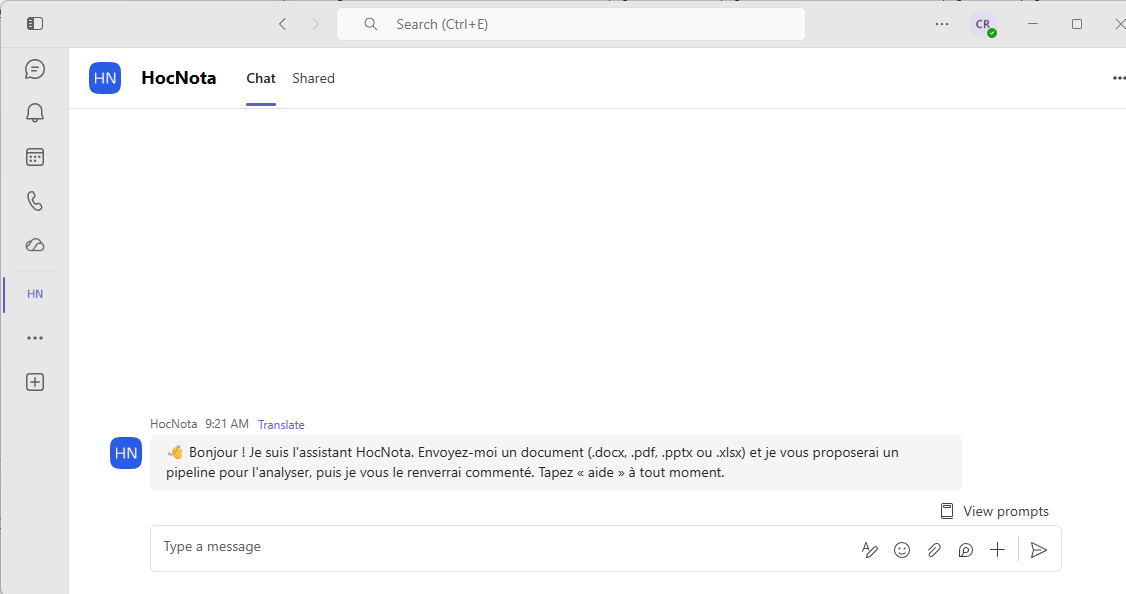
The HocNota bot is now available in the side bar.
See also the reference page: Teams Connection (Azure Bot).